|
::
Fitting HID Lights ::
|
|
|
The 155's lights were more than a little poor, even bordering on dangerous at times, so an upgrade was needed. If you have any queries about this technical article or wish to submit your own article please email technical@alfa155.co.uk |
|---|
 |
Firstly,
decide where you are going to locate the ballast packs. They are quite
bulky but there will be ample room in the wing cavities or perhaps under
the slam panel.
|
|---|---|
|
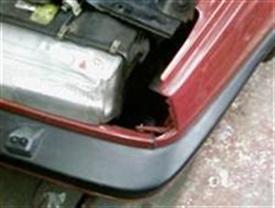
Engine bay space is a bit limited in a Q4 so it's necessary to use the wing cavity. I decided to use the hole already present which is accessible after removing the indicators. |
 |
 |
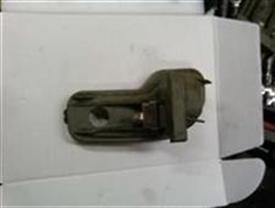
Use the
metal bracket provided and bend to suit the chosen location.
|
|
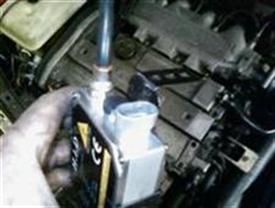
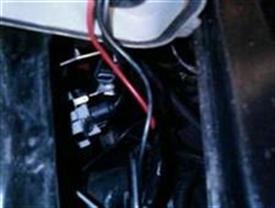
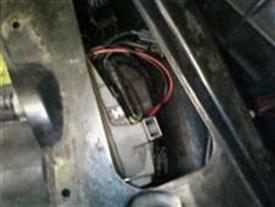
The ballast
pack in position, in the nearside wing cavity.
|
 |
 |
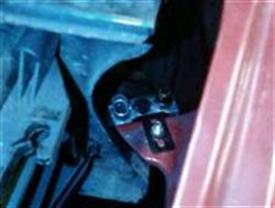
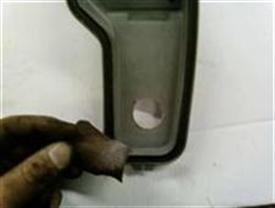
Next, the
backplates. You will need to drill a 25mm (1") hole. I chose the
location to allow the electrical connector to be refitted later.
|
|
Ensure the
hole is in the middle when drilling and remove any sharp edges prior
to fitting the grommet and cables.
|
 |
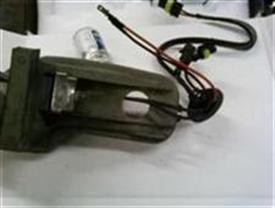 |
Push the
wiring through the hole.
|
|
Fit the
grommet.
|
 |
 |
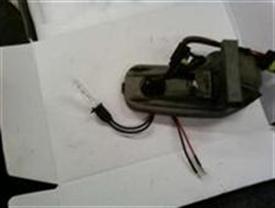
Connect the two wires to the existing wiring, in this kit it was black-black and red-grey. Insulate the connections and install the lamp as you would with a normal H1 bulb. The retaining springs will be hard work! |
|
Replace the bulb cover and reattach the electrical connector. Connect the remaining wires to the ballast packs. Reconnect and replace indicator, if removed. |
 |
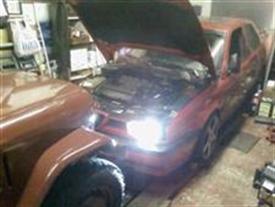 |
Switch on
and wait a few seconds for the lights to achieve full brightness...I'm
very impressed!
|
 |
|
|
The last
picture shows how yellow the sidelights are in comparison with the new
"daylight" HIDs.
|
 |
|
|
|