 |
|
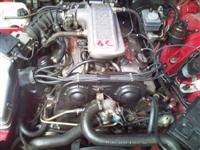
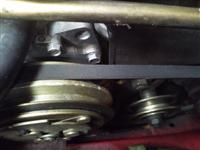
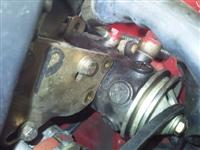
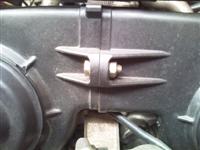
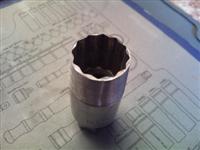
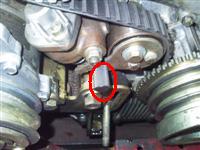
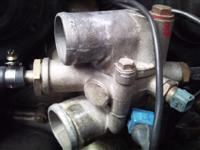
This is what faces you... |
 |
|
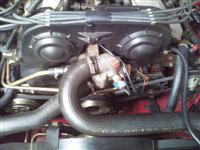
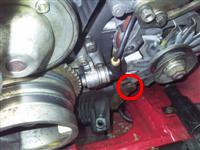
Close up....the bits we're
concerned with. |
 |
|
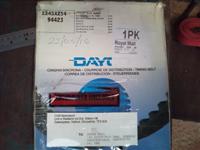
Purchase a timing belt. This one
is made by Dayco (p/n 94423) and also fits the Alfa Romeo 6, 75,
90, 164 and GTV V6 models.
134 teeth x 25.4 wide.
|
 |
|
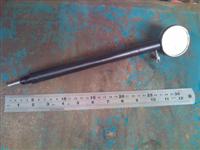
You may also want to be extra careful
and purchase a tool or two:
1.825.013.000
- TDC gauge holder
1.825.019.000
- Dial gauge
|
 |
|
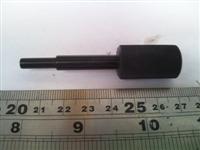
...and:
1.820.053.000
- Tensioner lock pin
Totally
Alfa
|
 |
|
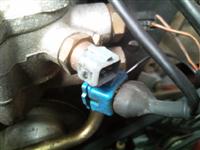
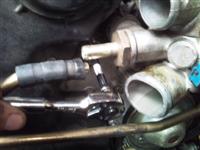
Remove water temp sensor
and water temp gauge sender connections (on the thermostat). |
 |
|
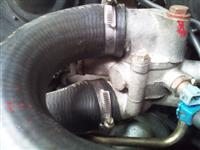
The manual doesn't mention this bit...drain
the coolant by removing the Fan Temp Sensor on the lower left
hand side of the radiator.
Disconnect the thermostat water hoses.
|
 |
|
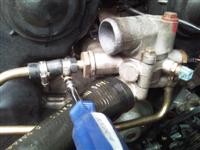
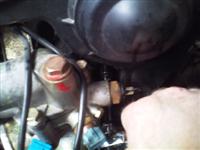
Disconnect both water
pipes for the oil heat exchanger. |
 |
|
The first belt, for the
aircon compressor. |
 |
|
Undo the centre pulley bolt and either
remove or bring to the top of the slot and tighten, remove the
belt.
The belt on my car was extremely
tight and needed the engine rotating to assist removal.
|
 |
|
The power steering pump.
There are two bolts in slots.
|
 |
|
Undoing these did not
provide enough movement to remove the belt. |
 |
|
But removing the additional two mounting
bolts allowed enough movement, without undoing the rear mount.
Again, rotating the engine helped
removal.
|
 |
|
The alternator belt.
Release the bottom bolt a little,
you may need to put a spanner on the rear bolt too.
|
 |
|
Loosen the top bolt, now
the alternator should move toward the engine. Remove belt. |
 |
|
Once all the belts are
off, you can remove the crank angle sensor, just a bolt top and
bottom, then pull away from the pegs. |
 |
|
Unclip the plug leads
and move to one side. |
 |
|
Remove the timing covers
bolts. |
 |
|
Look hard, they're hidden... |
 |
|
...in recesses! |
|
|
Remove the
plug leads. |
 |
|
Before removing the plugs, check
your plug socket fits. Sometimes there is gasket material intruding
into the plug well, or the plugs are off-centre in the hole.
I had to grind down an old plug socket
to permit it to fit.
|
 |
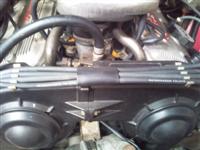
|
You'll just need a long
extension to get into five of the plug wells, but number six is
under the brake fluid reservoir so you'll need a small extension
and knuckle to get at it. |
 |
|
Remove plugs |
 |
|
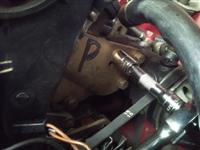
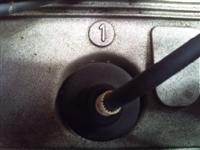
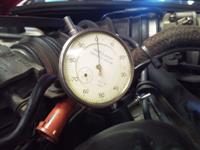
If you have a TDC holder,
screw it into number one plug hole and insert the dial gauge. |
 |
|
As well as relying on the timing
marks present, I always like to add something to make them more
obvious..."Tippex" works well.
|
 |
|
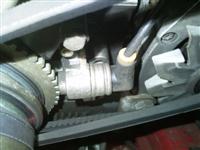
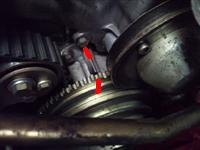
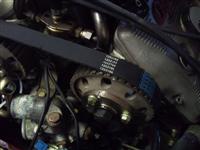
I put a blob on the crank wheel to
make the timing mark stand out.
Rotate the engine until the mark
on the phonic wheel approaches the pointer...
|
 |
|
...keeping an eye on the TDC gauge
for maximum deflection.
|
|
|
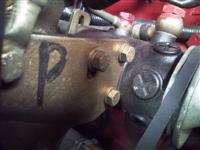
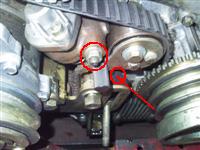
Ensure the cam marks are at roughly
1 and 11 (see white dot near top bolts). If not, rotate the engine
again, you should now be at TDC.
Remove the distributor cap
to check the armature is aligned with the notch on the distributor
body.
|
 |
|
Lift the cambelt tensioner
(use a lever or water pump pliers) and insert the locking tool (or
suitable sized drill or other rod) to hold the tensioner in place. |
 |
|
Undo the two bolts and push the tensioner
downwards, lock it in place by tightening the top bolt.
Inspect the tensioner carefully,
they are known to leak, but this one was fine.
|
 |
|
Now remove the cambelt, being careful
not to disturb anything else. Turn the belt sideways to remove
from the crank as there is a shield in the way, to protect it.
If anything moves (mine did!) then
reset the various wheels to the timing marks/TDC.
|
|
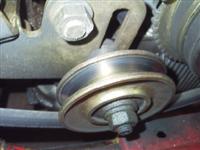
Be careful of the auxiliary pulley
as it moves easily and because it controls the distributor, can
cause problems when the car won't start later (ask me how I know!?)...you
have been warned!
Refit the cam belt as follows:
crank > tensioner > Auxiliary
pulley > right cam pulley > left cam pulley
It'll be tight, but will go eventually.
|
|
|
Undo the top bolt to allow
the tensioner to return and tension the belt, tighten both bolts. |
|
|
Lift the tensioner arm slightly and
remove the locking tool.
Rotate the engine fully, at least
twice, to ensure the timing marks continue to line up.
|
 |
|
That's the donkey work done!
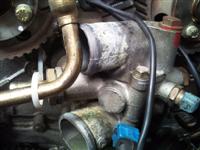
I decided the clean up the thermostat
apertures to ensure a good seal when the pipes go back.
|
 |
|
All the gunge has gone. |
|
Now you only have to put everything
back in the time honoured "reverse of removal" fashion,
paying particular attention to the belt tension.
Considering mine had
moved(!), I connected and strobe timing light up and adjusted
the timing to ensure it is exact.
‹
«
|
