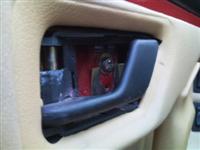
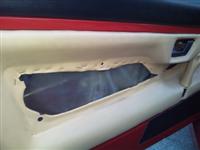
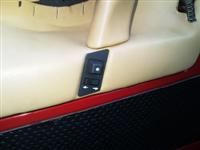
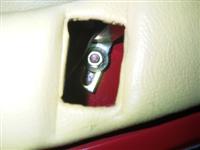
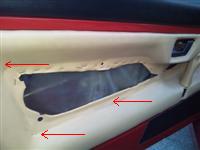
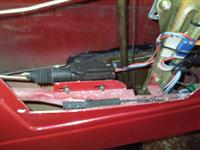
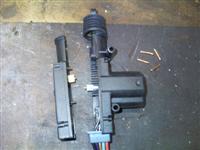
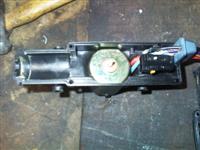
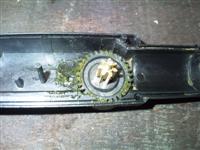
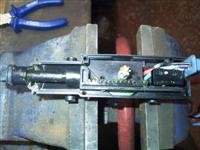
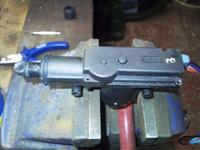
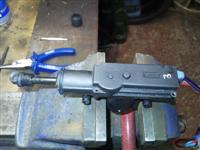
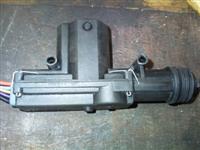
Alfa Romeo SZ Technical Page

Door Lock Motor Repair (20/10/10)

My driver's side motor failed by seizing up solid, it couldn't be moved so the car couldn't be locked! Removing the motor allowed me to lock the door manually and still alarm the car, whilst a replacement was delivered.

This is a common SZ problem because water can get inside the doors very easily...and of course the motors are getting a bit old anyway.

  Remove door handle surround.
  Prise off the centre panel.
  Remove the screw behind the handle.
  Remove window switches
  Remove mirror control switch from the bottom of the door panel.
  Undo and remove the 10mm nut.
  Remove top panel.
  Loosen the 10mm nut, but do not remove.
  Remove the three wingnuts inside the door.
 

The panel can now be removed by gently pulling down and outwards to reveal the door motor.

Follow the rod from the end of the motor and unclip from lock mechanism.


Disconnect the wiring (after cutting tie-wraps) and undo the two bolts to remove actuator.

Old and new on the bench, identical apart from the connectors which would mean cutting and splicing the wiring to fit the new motor.


Being a sucker for originality I really didn't want to cut the original wiring so decided to strip the motor to see if it could be fixed…nothing to lose after all.

Carefully drill the riveted end of the copper pins and remove.

  Carefully separate the two halves and don't lose anything.
  Remove protective piece covering the gear wheel and remove the white gear wheel to reveal the motor.
 

The motor had rusted and seized but a quick turn with a pair of pliers freed it off.

Water was blown out of the motor with an airline and everything lightly oiled.


There was also water in the casing which was again removed and blown dry with the airline.

  I drilled a small hole in the base to allow water to drain out in future.
  Dry and grease all the parts before reassembly.
  Motor, plunger and wiring back in place.
  Reassemble the two halves with the motor.
 

You can plug the motor back in to test everything moves freely, picture shows the plunger in the extended position.


  Refit the rubber boot after removing moisture.
  I decided to use very fine split pins to secure the plastic casing, this will allow easy disassembly in future.
  In place and secured, make sure the tabs are placed to the underside (motor) so they're not seen.
 

Refit the actuator and reconnect the wiring plugs.

Check the central locking works BEFORE putting everything back together!

  I took the opportunity to "bag" the electrical components and actuator for protection against water ingress…lots of water gets into these doors!


Refitting is the usual "reverse of removal", good luck if you have big hands! I'm really glad I used the original motor so it's worth having a look before condemning it and having to chop the wiring.

«

Email me by clicking the SZ below or join the FORUM
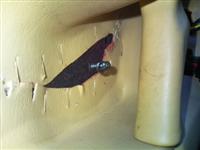
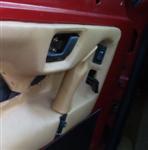
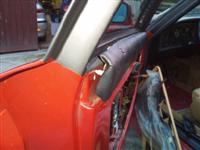
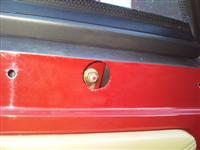
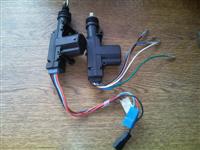
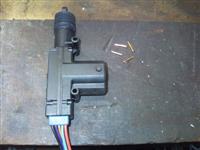
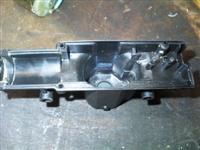
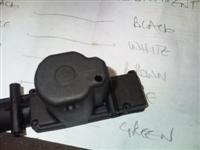