 |
|
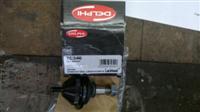
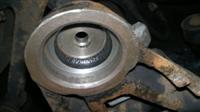
The new part - Delphi
TC346 - cost around £12 each from ebay, delivered. |
 |
|
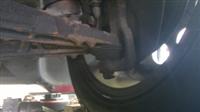
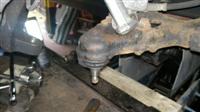
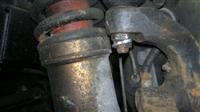
The offending item, lower
balljoint with play! |
 |
|
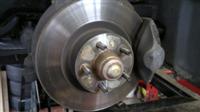
First, jack up the car
and remove the wheel. |
 |
|
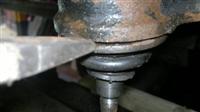
Remove the split pin from
the castellated nut...this gave me some grief but came out eventually.
I found it easier to remove the head and tap it through with a pin
punch. |
 |
|
Using a
19mm socket, remove the castellated nut.
|
 |
|
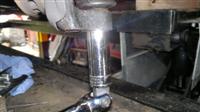
Using a balljoint splitter seperate
the balljoint from the hub.
Instructions I found for the Alfa
75 didn't say anything about the top balljoint but despite being
loose there was no way it was coming out of the hub without removing
the top too, perhaps an SZ thing???
Undo the top but don't use the type
of splitter shown above as it destroys the rubber boot. I used
the scissor type.
|
 |
|
 |
|
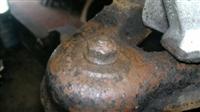
Wirebrush the top nut
and take it off using a 13mm socket. |
 |
|
The manual
shows a specific tool for removing the balljoint but it can easily
be done without. Work your way around the joint, using a cold chisel
to seperate the arm and balljoint. |
 |
|
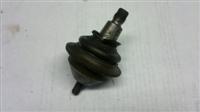
Here's the first one out!
There was about 1mm of vertical play.. |
 |
|
Clean inside the arm,
where the new balljoint will sit. |
|
|
|
Again, there's a collection of special
tools to replace the balljoint but a two legged puller with an
18mm socket over the small top nut is basically the kit required.
A large washer is included in the special tools to widen the lip
where the puller legs sit. This would have been useful to prevent
the legs contacting with the suspension arm, which caused them
to fall off twice!
I found some DIY instructions suggested
using the small top nut to pull the balljoint into place...there's
no way that would have worked with these; I would strongly
advise against it unless you want to strip the thread and buy
another balljoint!
|
 |
|
Time to put it all back
together, the new balljoint had a "nyloc" nut but don't
forget to replace the top split pin with a fresh one. |
|
|
|

