|
::
Fitting
Uprated Powerflex Wishbones Bushes
::
|
|
|
The 155 suffers from high wear on the front bushes, with lowered cars suffering more due to the greater shock taken by the bush and not the spring. The V6 suffers slightly more than other models due to its extra 100kg weight. some owners have had these wishbones changed at 20k miles and the bushes are not available separately tbecause they are bonded in, so this is an expensive job. If you have any queries about this technical article or wish to submit your own article please email technical@alfa155.co.uk |
|---|
 |
After
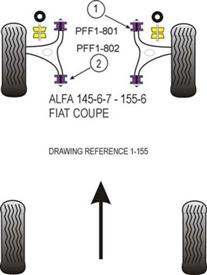
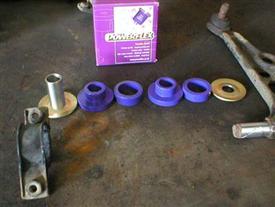
much pestering by 155.com owners, Powerflex have made an uprated wishbone
bush kit for the 155, which shares a lot of parts with others in the
range. This kit comes in two pieces for the front and back bushes, as
can be seen in this diagram. The polyurethane lasts longer than the
conventional rubber bush.
|
|
|---|---|---|
| Front bush from kit PFF1-801 | 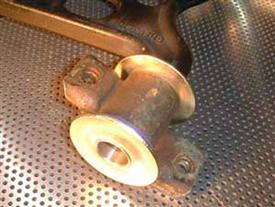 |
|
 |
Rear bush from kit PFF1-802 | |
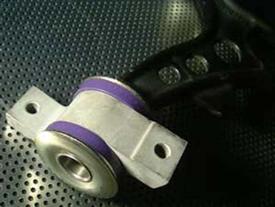
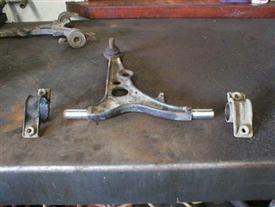
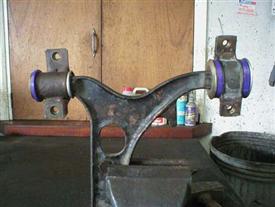
| Both bushes together fitted to a wishbone |  |
|
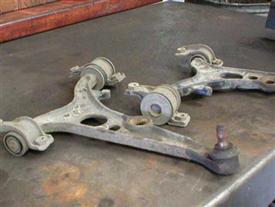 |
The original standard wishbone arms | |
|
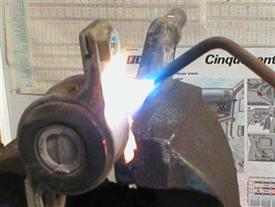
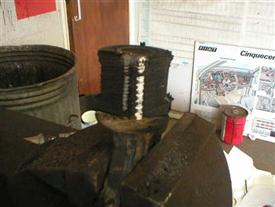
The old brackets for where the wishbone mounts to the
subframe need to be removed without damage, so the easiest way is to
burn them off using a blow torch. Don't forget which way round they
fit.
|
 |
|
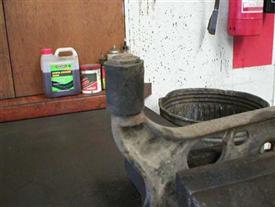 |
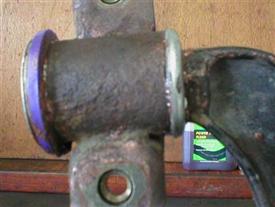
With the bracket reomoved you should be left with something
like this (this is the front bush)
|
|
|
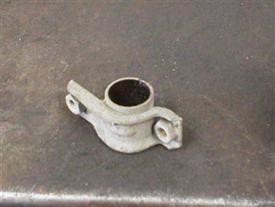
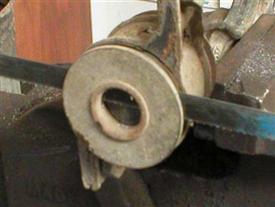
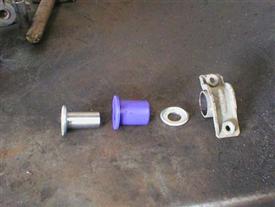
This is the bracket from the bush that nees to be kept
|
 |
|
 |
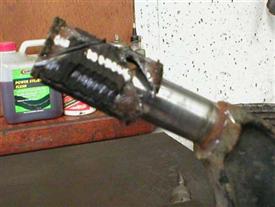
The best way to get the old rubber off is to cut off
with a hacksaw and shave bits off untill you have just the steel sleave
left. (Front bush again)
|
|
| Rear bush with the bracket removed | 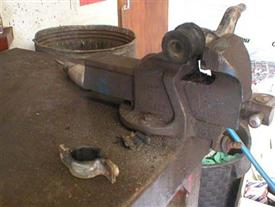 |
|
 |
A shaved rear bush! | |
|
You now need to get the steel sleeve off. If you have
an oxy-acetaline torch, then just heat it until it glows then chisel
it of. If you don't, then you will need to cut it along its length to
release the pressure then you can chisel it off. Be careful not to damage
the metal underneath the sleeve.
|
 |
|
 |
On the rear bush, you will first need to remove the washer with a hacksaw. | |
|
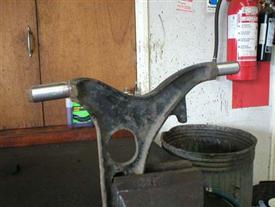
By now, you should be left with a naked arm!
|
 |
|
 |
Position your brackets so you don't get confused which
go where.
|
|
|
Lay out the bushes as shown and make sure you use the
correct ones for each side and for the ally or steel bracket. They are
numbered and the instructions tell you which ones to use, as you wont
need them all.
When you assemble the bushes make sure you use plenty of copper grease between all the joints, otherwise they might squeak when on the car. The kit comes with the copper grease supplied. |
 |
|
 |
Fit the single washer first, then fit all the bushes
onto the tube with the 'fitted' washer.
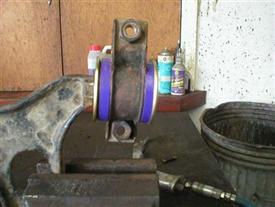
The whole thing then just needs to be hammered onto the wishbone now. You will find it goes on a lot easier if you use an old socket that just fits the size of the tube,that way you wont bend the washer when you hammer it on. |
|
|
The front bush is very easy and just goes together like
the rear that was shown previously.
|
 |
|
 |
I wasn't happy with way the instructions said to fit
this washer (right of picture), so I turned it round and I think it
fits better that way. The picture shows the way I didn't like.
|
|
|
If it looks like this well done! If it doesn't, chisel
them off and start again!
|
 |
|
|
|
||