|
::
Lowering a 155 ::
|
|
|
Eibach springs seem to be a favourite amongst 155 owners, they were available as an official Alfa optional accessory for the 155. From experience these springs do not dramatically lower the car, but are progressively rated and hot wound. What this means is that the progressive springs give a good balance between comfort and handling, they stiffen up under hard cornering and give great feedback to the driver so you can slide the car in a controlled manner if required. If you have any queries about this technical article or wish to submit your own article please email technical@alfa155.co.uk |
|---|
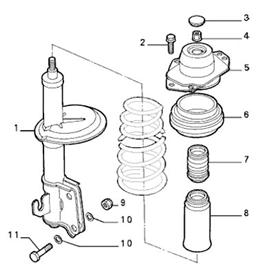 |
From the parts CD, you can see the components of the front strut. You need to undo bolts 11 and 2 to remove the McPherson strut unit. To remove the spring from the strut, you need to compress the spring and remove nut 4. |
|
|---|---|---|
|
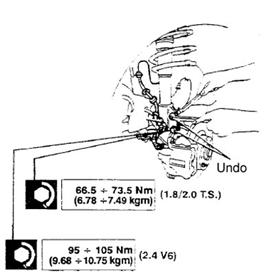
This diagram from the workshop manual shows which bolts you need to undo to take the front strut off and the torque settings for the lower bolts that hold the strut onto the wheel hub. |
 |
|
 |
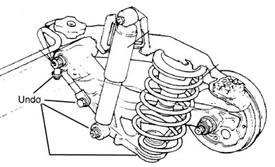
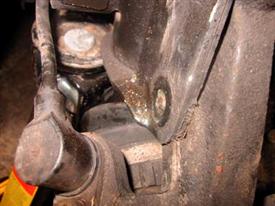
This
diagram shows the rear suspension setup. You need to remove bolt 6 and
the bolt that holds 4 onto the the trailing arm
|
|
|
From
the workshop manual, this picture highlights the bolts you need to undo
to allow the trailing arm to drop, though the top bolt on the anti-roll
bar might not be necessary.
|
 |
|
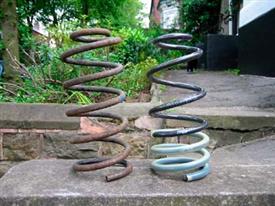 |
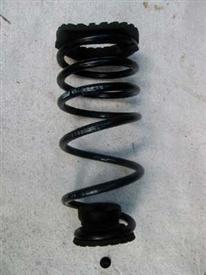
In this picture you can see the difference between the Eibachs on the right and the standard V6 rear springs on the left (note: the psrings are upside down in the picture). The Eibachs coils are more spaced out on the bottom of the spring, so to provide the improved comfort, but tightly wound at the top to give the handling. |
|
|
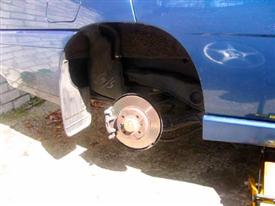
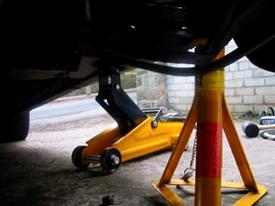
Remove the rear wheel. It is best to do both sides at the same time so the whole axle can drop further that allows the springs to be removed more easily. |
 |
|
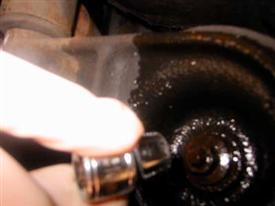 |
After
covering everything that needs to be undone in WD40 (lubricant) use
a 10mm socket on the bottom of the spring seat to remove the nut that
holds the lower end of the spring in place. This is prone to rust so
be careful...it's likely to shear off!
|
|
|
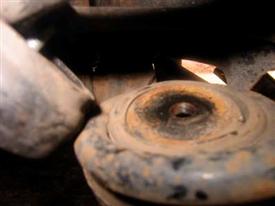
This allows the hard plastic spring seat top to be removed
(Part 4 on the 3rd diagram above).
|
 |
|
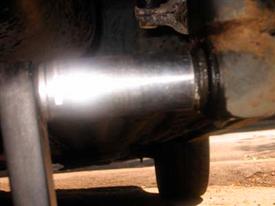 |
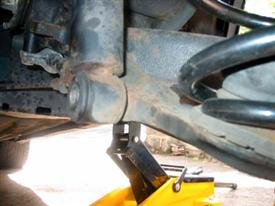
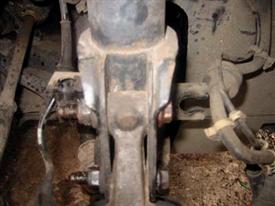
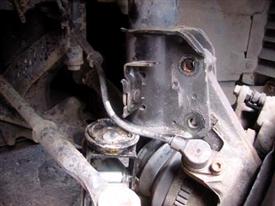
Now
remove the lower rear shock absorber bolt.
|
|
|
More
of the same. Compression of the trailing arm and hence the spring may
help with the removal of this bolt.
|
 |
|
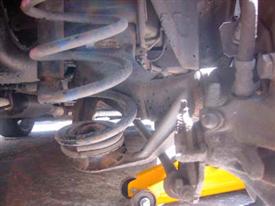 |
Once this bolt is out, you can see the whole arm drops and the spring becomes unseated at the bottom. If you do both sides at the same time, you have even more room to lift the springs off. Pushing down on the trailing arm will give a little more room if removal is tight. |
|
|
While you are underneath, have a look at the back of your handbrake cables to see if water can get in as the seal might have gone. This will freeze in winter and cause your car to be stuck with the handbrake on! Also check the bleed nipples on the caliper as these can sometimes stick. It would be wise to grease these up. |
 |
|
 |
Make sure the top and bottom rubbers are mounted in the right way and the end of the spring mates with the indentation in the rubber from the previous spring. Push the spring back in where it came from, putting the top in first. Finally wind the 10mm nut back on to the spring seat, being careful not to over tighten as the plastic may snap. I put lots of copper grease on this thread as a precaution in case I ever need to take it off again. |
|
|
Using
an axle stand or another jack, lift the trailing arm up so you can re-attatch
the shock absorber with the bolt.
|
 |
|
 |
This
makes it much easier to get the bolt in.
|
|
|
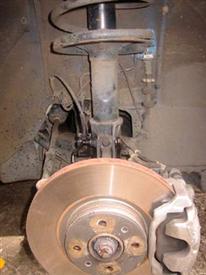
Now for the fronts.
|
 |
|
 |
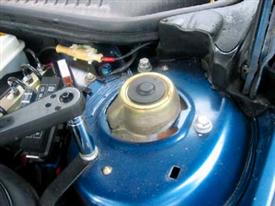
Disconnect
the pipes from the holders either side of the strut.
|
|
|
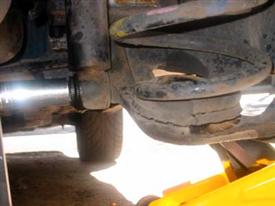
Undo the strut bolts, the bottom nut is very close to the ABS sensor so be careful not to damage it. Once the nuts are undone you may need to tap the bolt through, being careful not to damage the thread. |
 |
|
 |
Now ease out the hub, it might be a little stiff but should just pull away. Be careful not ro allow the strut to rest on the rubber driveshaft CV gaitor as these can split easily and cause a failure. |
|
|
Using
a 10mm socket, loosen the top bolts for the strut (3 in total).
|
 |
|
 |
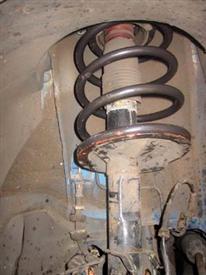
Carefully
lower the struts down and take them out of the wheel arch.
|
|
|
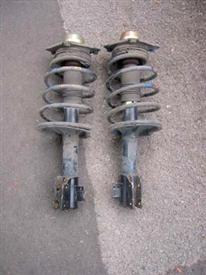
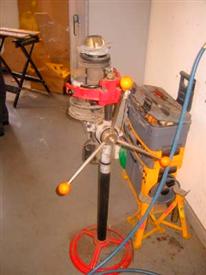
If you have a pair of spring compressors then it's time to hook them on and compress away.... If not, or you're unsure about this step, find a friendly garage to assist you; a flying spring is not funny and can cause serious injury- don't mess about with it if you don't know what you're doing! |
 |
|
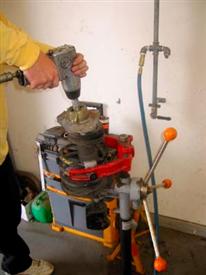 |
Once the spring is compressed, remove the plastic cap that covers the top nut. An impact wrench on the top nut makes life easier. Alternatively you need an 18mm box spanner to turn the nut whilst you put a hexagonal Allen key in the top to stop the strut itself turning. Some people have done it with an 18mm sparkplug socket held in place with mole grips and a sturdy Alan key. |
|
|
Once you have reassembled your struts in the reverse order you took them apart, offer them up into the turret and secure the top of the strut in place with the 10mm bolts, but do not tighten them up as you need some movement to allow the two lower strut bolts to be aligned and pushed into place. As with the rears, try pushing down on the lower wishbone if the strut will not line up right for the bolts to push through. Tap them through with a small hammer and re-tighten to the specified torque (see diagram above) if you have a torque wrench. |
 |
|
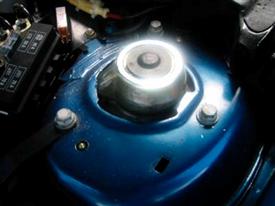 |
Finally,
tighten up the top bolts, put the brake lines back in their notches
on the strut and refit the plastic cap that covers the top nut. You
might initially be disappointed with the lack of drop of your new suspension,
but this will bed in and settle a bit over time. When you take it out
for a long run, you will notice the difference. Watch your sump on speed
bumps...remove that silly cast exhaust bracket if you have a 16v Twinspark.
|
|
|
|
||